
Build It Right the First Time

A Collaboration between Green Building Canada & Fragile Shelters Publishers
Deck Building Tips to Save Some Grief
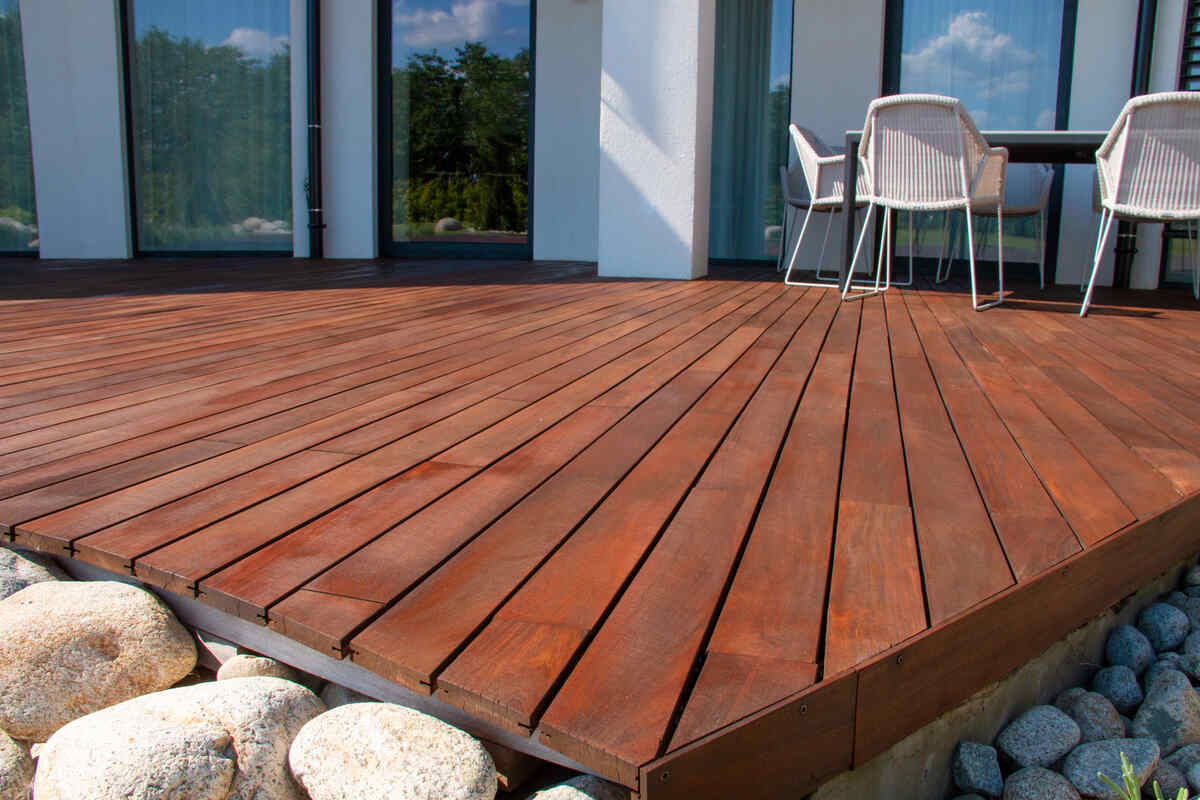
When the first inquiry about building a deck arrives I can tell that spring is not far away! Outdoor living space has become one of the fastest
growing segments of home enjoyment, sitting out in the sun, catching some rays with a cool drink by your side.
I expect more inquiries asking for specific information, but this week’s question was simply, “Got any tips to help build a good deck?” Well in fact I have, based upon more deck assemblies than I care to remember. There are some specifics I simply would not budge on when it came time to bring our crew in to make that summer dream come true.
Establish Where and How the Deck Is Going to Be Used
Do not become locked into a deck, especially if your deck is only going to be three or four feet off the ground. Decks cost a lot to build, agreed. But the maintenance is constant: staining, powerwashing, fixing broken wooden portions that the climate has cracked, split and decayed.
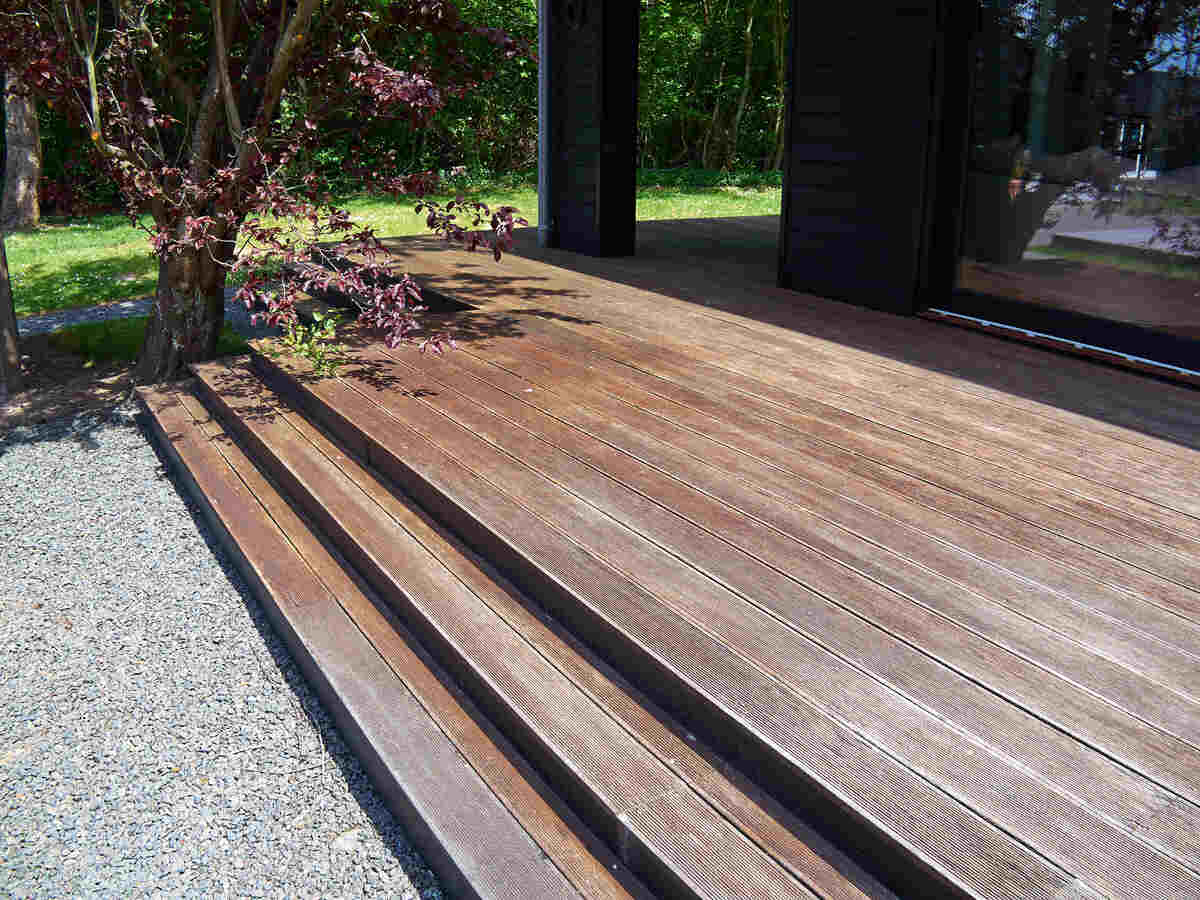
Over the years, I’ve explained to clients about the advantages of a wide, double-step staircase leading to a 36” landing at the patio door. This creates a natural transition to a well-designed ground-level patio.
Patios built with pavers, patio stones, or flagstone make a permanent, low-maintenance solution that can be easily cleaned with a garden hose. Add a decorative fire pit to extend its time of use. Over the long-term, a patio like this is a lot more cost reasonable to maintain.
Square the Deck
If you have decided on a deck over 4 feet in height then take the time to fully plan the deck and don’t double check the location for square. Triple check it.
You are building a basic frame for a roofless addition to your home and construction must be treated like that. The level of grief, as you build a deck that is out of square, will be one of the greater frustrations you will have in home ownership.
The Building Permit
Installing Footings
If your municipality permits the use of screw posts or helical piles as they are also called, they can be used for a foundation. I recommend you get them professionally installed, they are a quick, frost resistant answer for deck support. Companies like Pro Post and Screwco have installers who will come to your home and install these posts, ensuring they are all level and plumb. They do have some weight limitations so make sure you are within the standards.
If you are considering a large deck or intend to add a sunroom on the deck, then concrete support columns are the way to go. There are numerous methods: paper tubes, plastic tubes and home-assembled wood forms are all acceptable. I will admit to an experience-based bias here. My personal choice is a plastic tube called “The Footing Tube,” which was invented and made by a Canadian from New Brunswick.
I have seen sono-tubes “pop-up” from frost, I have experienced separation on both Bigfoot and Sonotubes – a costly experience. The Footing Tubes are a one-piece stepped form tube that has various sizes and can be trimmed to height. As frost is the largest consideration, a test by the UNB Department of Civil Engineering done some years ago arrived at this conclusion: “Footings, constructed using the “Footing Tube” are unlikely to suffer from adfreeze-related movement, even under the most unfavourable soil and weather conditions.” When installing the metal “Yokes” for your frame, wait for at least an hour before setting in the concrete. Rent a construction rotary spin level to make sure all the yokes are set the same height.
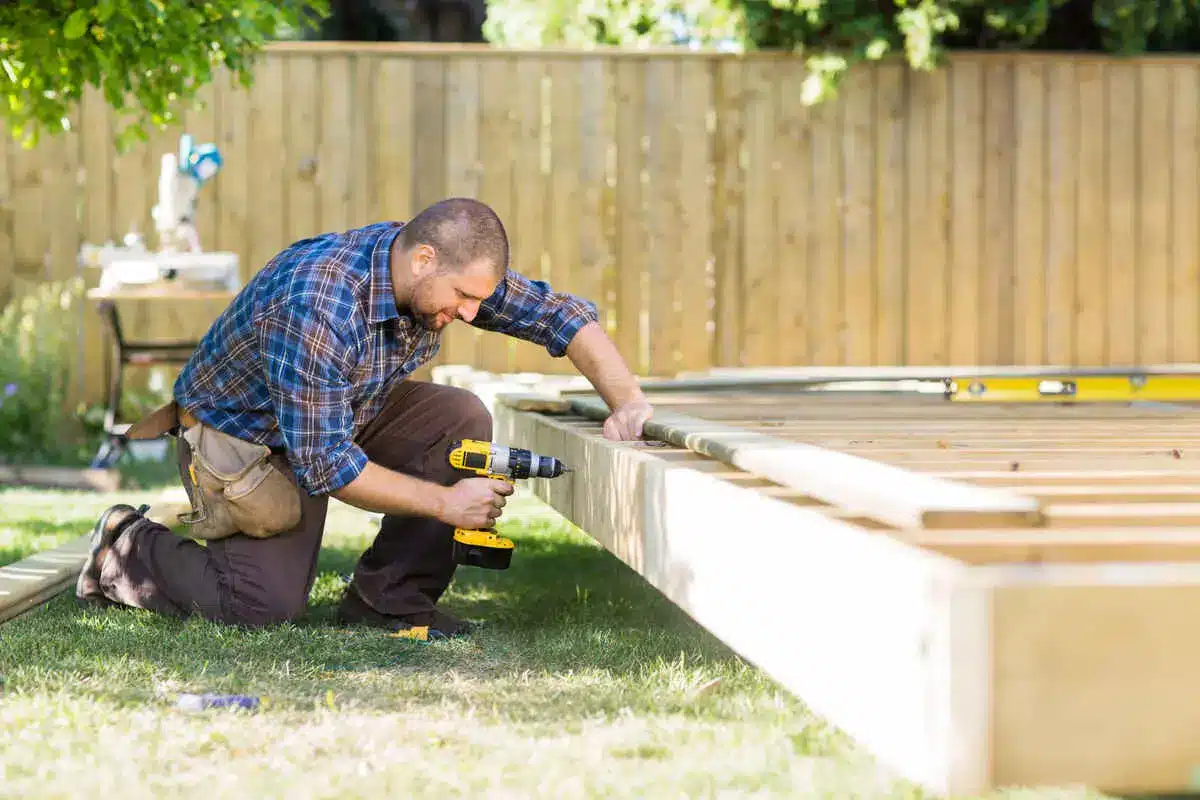
Assembly
Now some actual assembly tips for the wood frame part of your deck. Next to the support footing, attachment to your home is the most critical step and simply must be right. First, you must remove siding, rigid insulation or other material so you have clear access to the end of your home’s floor joists. If it is covered in structural sheathing that is in good condition, that can remain. Known as the rim joist, this is the wood frame you will be attaching to the ledger board for your deck frame. The days of using lag bolts are long gone, structural screws are far better. While pricey, they are hardened steel, and don’t split the wood as often. The bonus: they have over one-third more structural strength than lag bolts.
Now the next trick, space the ledger board away from the home. Drill staggered holes in a “W” pattern along your ledger board. These holes should be just “slightly” larger than your structural screws. Stagger the holes 6 inches apart for a 2×8 ledger, 7 inches apart for a 2×10 and 8” apart for a 2×12 ledger board. We found a wood drill that was just a tiny bit larger, allowing us to hand screw the architectural screws into the ledger board. Add a half-inch stack of washers onto the architectural screw then, using a good 20V cordless on low speed, attach the ledger board ensuring it is level and plumb.
Now one question I know I am going to get is: “How do you mount the ledger board, with X number of screws holding a half-inch stack of washers you can’t hold or see? Be patient and prepare the ledger board carefully, remember this is the primary structural frame piece for your deck. Take some construction adhesive on a piece of scrap wood, put a thin layer of adhesive on each washer and on the outer washer. Build up a half-inch stack over each hole. Yes it’s a bit messy, give the adhesive some time to set up then fit the screws into the hole with the tip of the screw just exposed. Now attach each end of the ledger board carefully, then screw the rest of the architectural screws into the rim joist. What you now have is a separation from the home that allows any climate, rain and melting snow to drain away from the deck without causing any wood decay or rot over time.
Use Flashing to Deflect Water from House
Selecting Quality Wood
And lastly, when you are buying the material for your deck, take a few extra minutes when selecting your 4×4 posts. Check each end and look
at the end grain. If the 4×4 end grain looks like a bulls-eye, pass on that one. This “bulls-eye” 4×4 is from the heart of the log and if there is one
post that will twist and warp, it’s this one.